Umbraco CMS with ASP.NET MVC - Part 2 Installation
In this post we will see how to start with Umbraco CMS website development with ASP.NET MVC.
In previous Introduction post here you can read the brief roadmap about posts on Umbraco MVC.
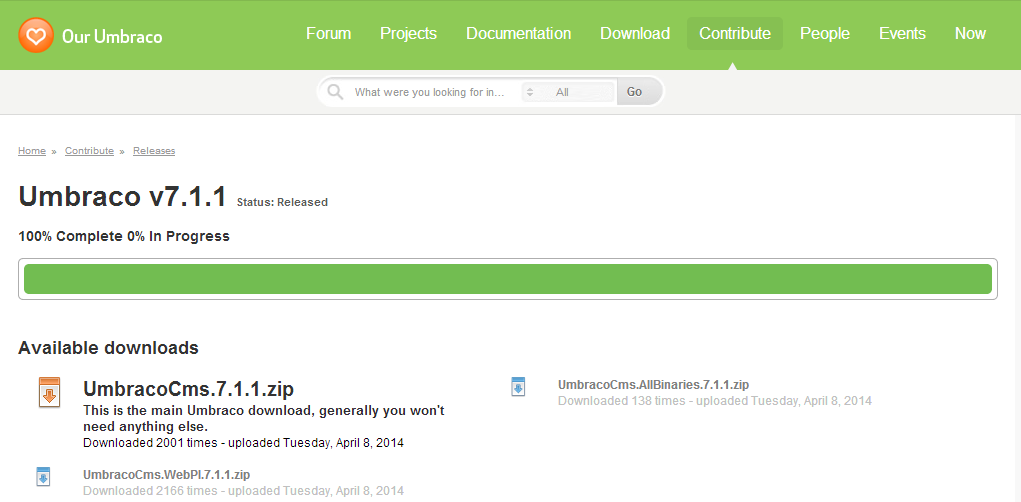
Step 1 - Download Latest Umbraco release
Download fresh installation of Umbraco CMS from Official Umbraco Site. For this post Umbraco version 7.1.1 is used and use full source code release package highlighted in bold "UmbracoCms.7.1.1.zip" in screen below.
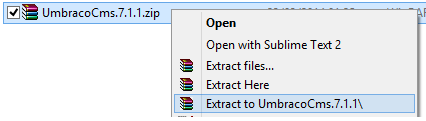
Step 2 - Extract the package
After downloading release package in '.zip' format extract the package to temporary location.
Step 3 - Setup the website in IIS
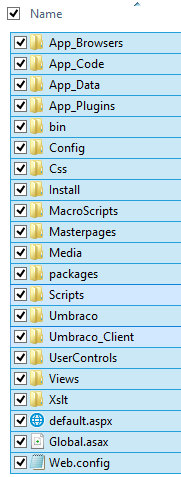
After extracting the release package, the next step is to copy the extracted content to IIS web root directory by creating new folder for the Umbraco MVC website or configure the extracted folder in IIS directly in next steps.
The extracted content will look something as shown below screenshot
Now Add a new Website in IIS. To open IIS manager you may use the cmd command 'inetmgr.exe'.

Now the Add Website configuration dialog will show up. Configure the Website as below with local domain binding 'umbracomvc' on port '80'

Now the IIS Website is configured.
Step 4 - Create Local-only domain binding
We have configured the IIS Website with local binding definition in above steps but to correctly resolve and browse host name 'http://umbracomvc/' we need to configure the hosts entry in the local system with local IP address. Hosts file configuration and file path is shown in screenshot below.
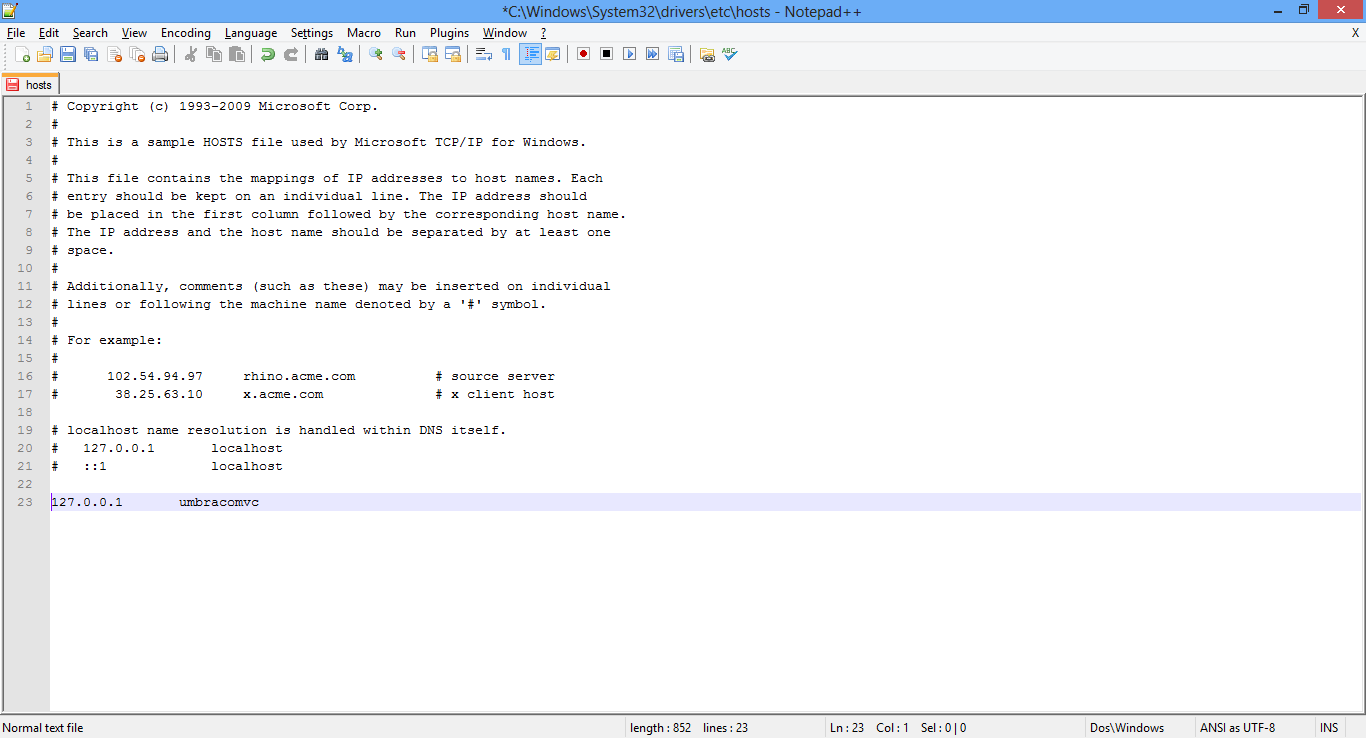
Note: Open the notepad or notepad++ in Administrator mode. Additionally after this configuration use the cmd command 'ipconfig /flushdns'
Step 5 - Start Umbraco Installation
After above steps browse the website in browser at URL 'http://umbracomvc/' (refer 'Host Name' configured in IIS Website Configuration Dialog for the URL if changed in your case). When browsing for first time Umbraco will automatically initiate the Installation wizard and ask for following - Configure the licence (if any), Database connection, User credentials for Umbraco Admin, Starter Kit theme.
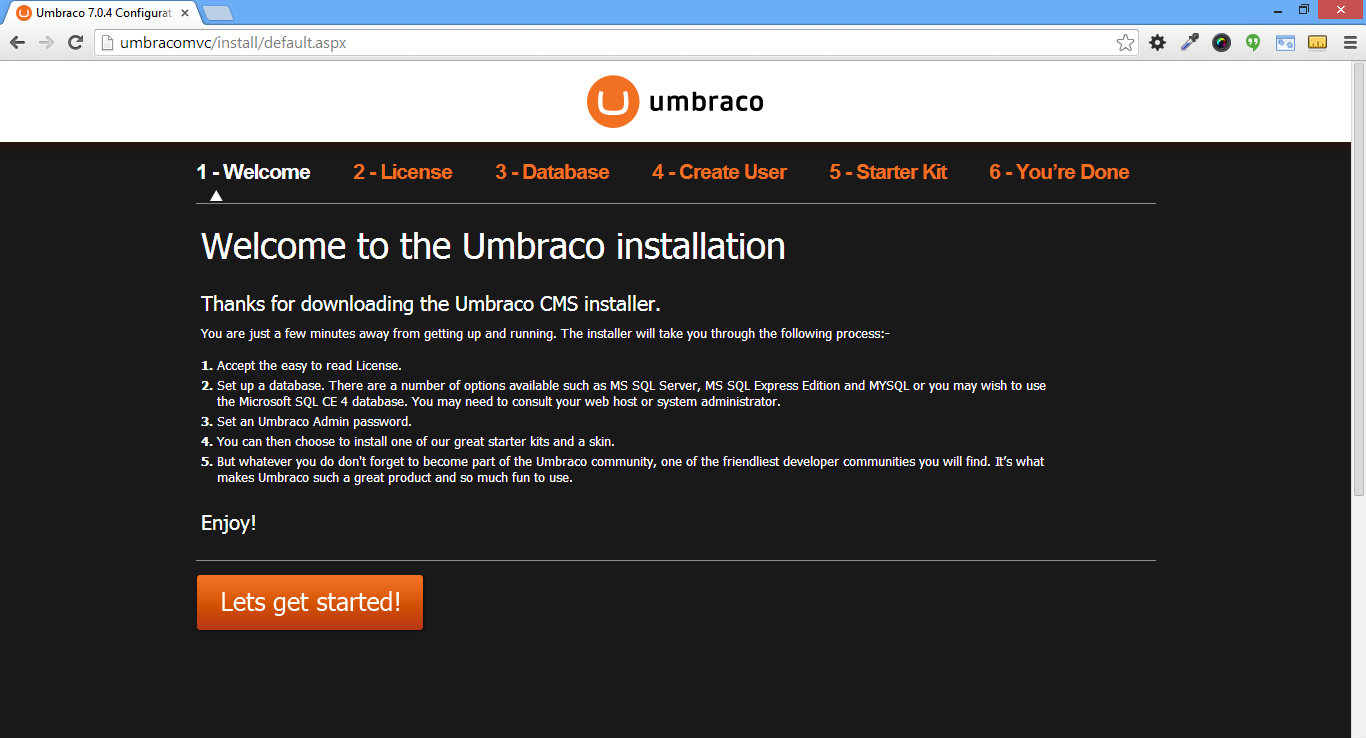
Few excerpts from the installation wizard are shown below:
1. Installation Welcome screen
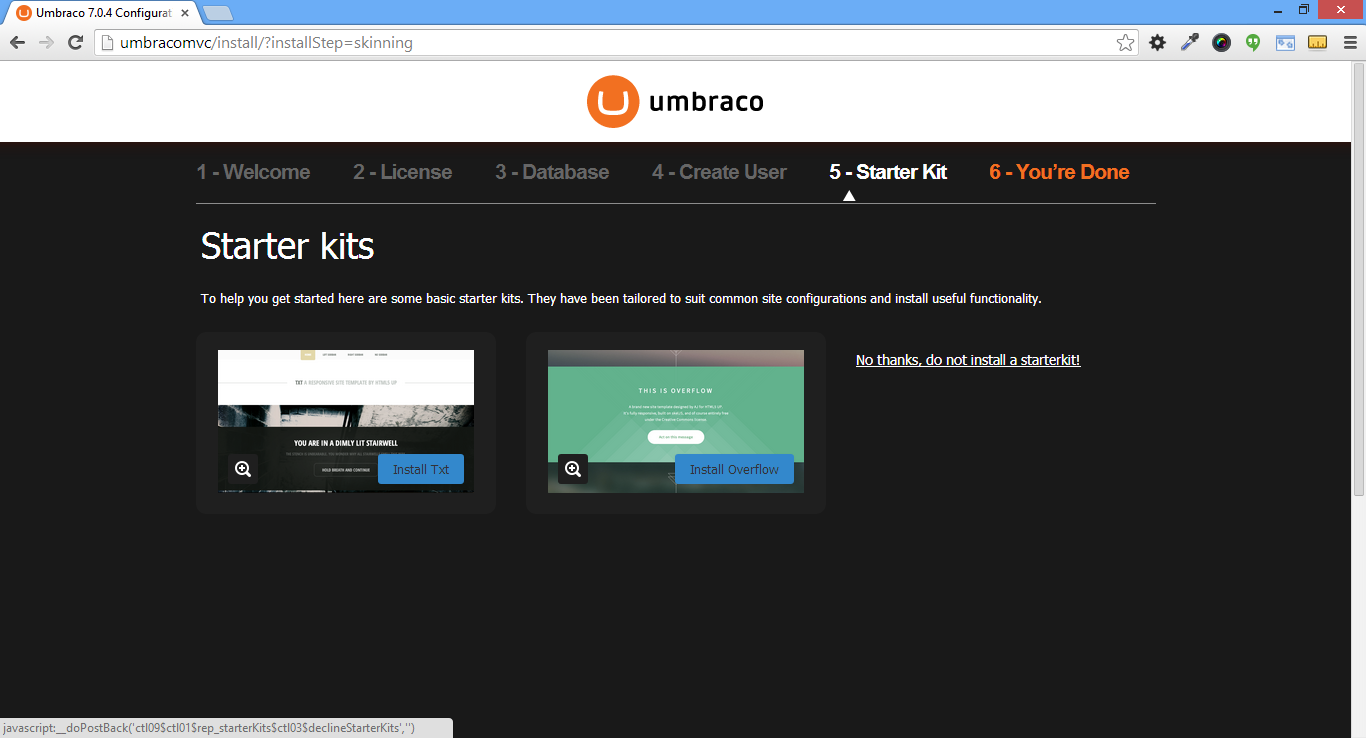
2. Select 'No thanks, do not install a Starter Kit' in Starter Kit Selection Step
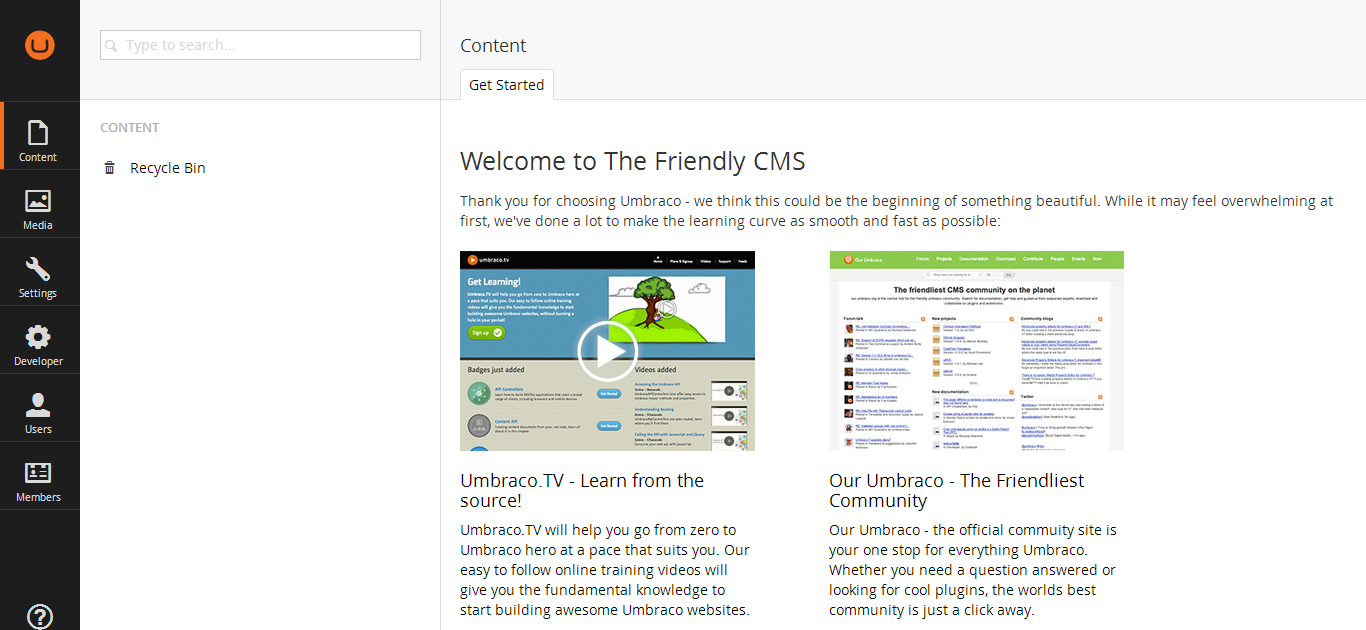
3. Final step screen

4. Verify the Umbraco Admin panel access at http://UmbracoMvc/Umbraco/ with configured user credentials in Installation wizard
Note: Above Installation wizard screenshot were captured using Umbraco CMS version 7.0.4 but later upgraded to Umbraco CMS version 7.1.1
Conclusion
In this post we went thru steps to download & install Umbraco CMS on local system. In the next post we will see how to create Visual Studio Solution for this website.
I hope this post was easy to understand and screenshot images helped you to visually connect with the minimum required steps.
If you liked this kindly like or subscribe. Keep comments flowing if you have any ideas or suggestions.